Showing posts with label seed starting. Show all posts

Saturday, March 1, 2014

Weather or Not, Tomatoes and Peppers for 2014

Early Annie lived up to her name!
Today was a lovely late winter day:  60 degrees, warm breeze, sunshine.  Tomorrow, winter storm Titan threatens to dump ice on us.  I should have been out pruning roses and blackberries, but I think it would be better to wait until after this last (I hope) cold snap.

Somehow, I forgot to order enough seedling trays and deep inserts from Greenhouse Megastore so, last weekend, I washed and sanitized the trays and inserts I used last year.

[Note to self:  wash and sanitize the trays as soon as you are through with them in the spring!]

A busy planting day!
By the time I was done, I was too tired to plant, so I finished planting all my peppers and tomatoes today.  I've previously listed my tomato varieties for the season, but have added Black Krim from Garden Harvest Supply and Black Truffle (Trifele), my only hybrid, from Burpee.


This year I've condensed my pepper varieties.  I'm trying two new sweet "bells":  Charleston Belle and Ozark Giant despite my monumental lack of success with any sort of bell pepper.
For hot peppers, I'm growing poblano, TAM Jalapeno, and tabasco, all from Baker Creek.  I've had luck with serranos and habaneros in the past and may add them, too.

It's a full (green)house!
With all this planting, my greenhouse is full!  Fortunately, the cabbage and broccoli will appreciate moving from the warm greenhouse (70 degrees) to a cooler spot (40-50 degrees) under a light on the rolling cart, which will give me more room.

It was an insanely busy day, but, to my surprise, I felt more energy at the end than when I began.  Not only is organic food good for me, it seems, so is organic gardening.  I was very blessed to be able to enjoy a warm, late winter day, and I hope that you soon will, too.  Spring is coming, I just know it.

What's growing in your Savory garden?

Nancy


Saturday, February 15, 2014

Bouncing Baby Brassicas!

And on the fifth day after sowing, the brassicas sprouted!
After being sown on Saturday, the first baby cabbage sprouted on Thursday, five days later!  Today, the cabbage and broccoli are popping up all over!

As I wrote previously I've made several changes to the seed starting operation this year and, so far, they seem to be working.  I really like the new seed-starting mix (no longer using a commercially prepared mix), but the biggest change this year is the addition of temperature control.

Bunches of babies by day seven!
In years past, I've been fortunate enough to enjoy a decent germination rate, but the plants have been very, very slow to mature to transplantable size.  This year--especially with the extreme cold--I knew I had to try to warm up the greenhouse earlier.  I considered seed mats, but, after much "ciphering" I decided it would be more cost-effective to try to heat my tiny greenhouse.  Again, after many computational gymnastics, I decided to pilot my project with an inexpensive heater fan (with an adjustable thermostat) purchased when they first hit the shelves last fall.  The fan now sits on the bottom shelf of
Convection seems to be working!
the greenhouse, relying on the magic of convection to warm the top shelf.

It's been a wickedly cold winter (0 and -1 lows on several mornings), but the greenhouse has maintained the targeted temperature range for brassicas of 50-60 degrees even on nights when temperatures dropped into the teens.

Jim likes violas and I like johnny-jump-ups, so I started a mixed flat of those today to plant on the shady, cool north wall.  I also started some onions in squared
Let's see how the onions like this arrangement!
toilet paper rolls so they will not be disturbed by transplanting.

All of these are cool-weather plants, and I hope that they will be ready to move to the unheated cart before it's time to start the warm-temperature plants.  I plan to target the 60-70 degree range for tomatoes, and the 70-80 degree range for peppers.

But, in the meantime, I'll continue watching those bouncing baby brassicas!

What's growing in your Savory garden?

Nancy


Saturday, February 8, 2014

Waiting for the End of Winter

It's a perfect day to start the garden!
It's too cold and wet to actually work in the garden, so I'm enjoying planning to work in the garden.

Last season I added cabbage and broccoli to the garden, but they suffered in the heat since I started them at the same time as my tomatoes.  This year, I'm starting them earlier so I can put them in the raised beds early.  I had planned to start them last week, but delayed planting a week in the hopes of warmer weather.  You can see the result of my wait in the picture!

Ignoring the possibility of more snow next week, the garden officially began today.

Compost, vermiculite, perlite, and sphagnum moss
sourced from Lowe's.
Several weeks ago, I created my seedling mix, based on what is supposed to be an organic Rodale recipe.  Today, I filled four deep inserts and 1020 trays from Greenhouse Megastore.  Last year was the first year I'd used the deep inserts and I believe the seedlings were able to develop better root systems in the larger cells.

While it is still too early for tomatoes and peppers, there are a two crops I can start.  For my daughter, I'm starting broccoli:

Trays are waiting for the next round of planting!
Umpquah:  An early variety that is replacing Waltham 29 which did not produce in the heat.
Early Purple Sprouting:  I probably should have overwintered it, but will plant it early and see what happens.  This is replacing DiCiccio which produced poorly last year.

My husband really likes home-fermented kraut, so the cabbages are for him.  I'm planting two varieties:

Early Flat Dutch:  Reported to be heat-tolerant and good for kraut, I'm looking forward to seeing how it bears up.
Premium Late Flat Dutch:  The reviews specifically mention how great this variety is for kraut.  It's replacing "Glory of Enkhuizen."

The tomatoes and peppers
should love the extra warmth!
Given how cold this winter has been, it's not surprising that I'm adding a heater to my DIY greenhouse.  I had thought about heat mats, but I'm going to try the less-expensive option for now.  Cabbage and broccoli prefer a cooler soil--near 50 degrees--so I'm just trying to keep the soil from freezing.  I should have the regulation routine figured out by the time the big planting season begins.
My version of elf on a shelf!


The weatherman is threatening us with more snow next week, which should give me time to start a few early flowers, too, before I need to start tomatoes and peppers.

Winter is still howling outside, but in my greenhouse, spring is just around the corner!

What's happening in your Savory garden?

Nancy

Saturday, April 13, 2013

DIY Indoor Greenhouse: Moving Day!: Hardening Off Seedlings

I call this a success!
I hope you are having as much success with your DIY Indoor Greenhouse as I am with mine!  For a minimal investment,
much of it salvaged or collected throughout the year, I will be transplanting my best crop of seedlings ever.  After much loving care, it's time to start moving some of the seedlings out of the greenhouse and into the real world.  Sort of.

While many of the tomato varieties have thrived in the tropical conditions so much that they have grown into the lights, they cannot go from the controlled conditions of the greenhouse directly into the garden.  This transitional period is called "hardening off."

The first issue is the temperature variations:  from the mid-30s to the low 80s within the past six days.  Tropical seedlings like tomatoes and peppers just do not like temperatures under 60.

A greenhouse allows you to create ideal conditions for your seedlings.
The second issue is the humidity.  While summers are quite sultry here, this spring has seen low humidity in between torrential downpours--which is another reason to harden off the small plants.  They need to be a little more sturdy before they have to stand up to a heavy rainstorm.

A third issue is variation in water levels.  In the greenhouse, I water from the bottom and occasional mist to maintain humidity and to prevent the seedling mixture from drying out on top.  Watering from the tray rather than the top causes the plant's roots to develop deeply to seek water rather than bunching around the surface.  This will benefit them later in the summer when rain is scarce.

Don't let your babies become sunburned!
A fourth issue in hardening off is variable light levels.  The greenhouse is lit 18 hours a day, using fluorescent tubes from two spectra.  While bright, the light is not nearly as harsh as the sun, so they young plants need gradual exposure to the sun before plopping them into the ground.  I forgot about that and put my little leafy friends in the sun for a day or two.  The leaves began to brown before I recognized the symptoms of sunscald (think of it as sunburn for plants).  Immediately I moved them to a deep covered porch where they receive direct morning sunlight for about four hours and indirect after.  They are much happier there.

Looks bare, doesn't it?
So, the greenhouse looked a bit bare, for a few days, at least, until I started more cabbage and spinach and replanted peppers which had not sprouted.  I'm already looking forward to starting my fall "crop"!

I will make one big change, though, before next winter.  Some things (like peppers and eggplant) just like warm soil.  I'm planning to add some level of temperature control like seedling heat mats.  I'm already watching my usual sources to catch them on sale!

And one investment has yielded wonderful results!  This year I invested in deep inserts for 1020 trays for seed starting.  I'm a lazy gardener, so I sow seeds directly into the trays from which I will transplant rather than into starting flats.  The inserts are 1" deeper than traditional inserts and the tomatoes, especially, are several inches taller than comparable varieties planted in the shallower inserts.  The cost differential ($.10 more per sheet) is negligible for the increased plant size.

Well, the weatherman says it will cool to 50 degrees tonight, so I must go move my plants (on a rolling cart) into the garage for warmth.

What about your seed starting adventures?  Any advice?  Any funny stories?

What's growing in your Savory garden?

Nancy

Monday, March 18, 2013

DIY Greenhouse Tips and Garden Plans

Tomato seedlings have a case of tropism!
Until now, the bulk of this year's gardening has been inside due to rain or cold or both.  The greenhouse is working well and the plants are leafing out nicely.  I had feared the daily 18 hours of light would make them "leggy" but, so far, they are leafing out and building strong stems.  Since I hope to set out the first of them in 2 weeks, they seem to be making good progress.

It's been a beautiful weekend here on the farm with temperatures in the 60s and partly cloudy skies.  The weather has been so lovely, that it lured me outside.

Made in the shade.  Someday.

They're leafing out!

On Saturday, the local forestry association gave away trees and we picked up 2 dogwoods, 2 Nutall's oaks, 2 swamp chestnut oaks, and 2 yellow poplars.  The trees are little more than switches--about 18" tall--so they did not require a deep hole when we planted them on Sunday.  Because of last weekend's rain, the ground was still soft and relatively easy to work with, so, with the Resident Dragon wielding the telephone pole post-hole diggers, we made quick work of the planting chore.  Hopefully, they'll provide much-needed shade from the scorching evening sun.

Last year's strips:  I only used two.

We're growing in size, too!


I'm expanding my garden plots from 2 to 6 this year and started the season yesterday with a rough till to turn under early spring plants and leaves applied last fall.  While I usually do two passes with the tiller, the soil was so wet I could only do one without compacting the 20' strip.  With any luck, and a little warm, dry weather, I'll try for a second pass next weekend.

The freshly-tilled earth made it easier to collect soil samples to send to the extension service for analysis.  One of the things I learned from the Rodale Institute's Organic Transition Course is the importance of knowing exactly the condition of the soil before I make amendments.  Since I'll likely not plant most plots until May, there should be plenty of time for the results to come in.

I've come a long way since my first seedlings
That's just one of the lessons I've learned about gardening.

I've also learned several about starting seeds:


  • 18 hours of light per day.  Period.  Using both warm and cool light covers both spectra.
  • Soil temperature is essential.  Most seeds want at least 60 degrees and some (like peppers) want at least 70.  I depended on light this year, but that's not enough.
  • Humidity helps conserve soil moisture.  My seedlings have improved since the humidity has stayed above 70%.  Despite this, some of the flats have looked a bit dry, so I've purchased a small pressure sprayer for misting and, later, for foliar feeding.
In other words, the mini-greenhouse is working!  I'm already planning some level of temperature control for next year--a forced air system or heat mats.  Does anyone have a good source for seedling mats?

More Sunshine!


The later sunset gives me more hours to work in the evening, and I'm looking forward to getting as much done before the hot weather descends upon us.  What's next?  Planning supports for beans, cucumbers, squash, and tomatoes.  More on that later.

News flash!


I just received word that my ginger and turmeric are shipping today, so it's time to assemble that raised bed I was given for Christmas!

So, that's what's going on.  

What's growing in your Savory garden?


Nancy


Sunday, February 24, 2013

No Vacancy: Herb Varieties in a DIY Greenhouse for My Organic Garden

Leaning toward the light!
Well, the greenhouse is officially full!  Today I started herbs and the last tomato variety for the season.  At five 36-cell trays per shelf times five shelves, that's 900 plants!

Green Tithing


While most are going in my own garden, I always start some extras to share with my church family.  This year, I've also connected with a community garden in a nearby town and will be sharing tomatoes, peppers, and herbs.  It's sort of my own version of Plant a Row for the Hungry mixed with "teach-a-man-to-fish."

Community gardens are fairly new in the towns near me, but I'm hoping they will spread this year.  Few small towns have groceries anymore and access to fresh produce can be limited for those who cannot go to "town" often.

Herbs


My herbs are the old standbys, with one exception:

Basil, Genovese                18 cells (bruschetta, anyone?)
Basic, Sweet                    18 cells
Thyme, Common             18 cells (great on chicken and beef!)
Wild Bergamot                 12 cells
Cilantro                          24 cells ( we really like cilantro!)
Dill, Long Island              18 cells (for dill pickles!)
Sage, Broadleaf                18 cells (for poultry and for hash)
Rosemary                        12 cells (for just about everything!)
Tarragon                         12 cells (great in chicken salad)
Oregano                          12 cells (there's just no substitute for fresh)

I've not had good luck with herbs in the past, but I'm hoping to change that this year!

Tomato


The power of the
Italian Tree Tomato!
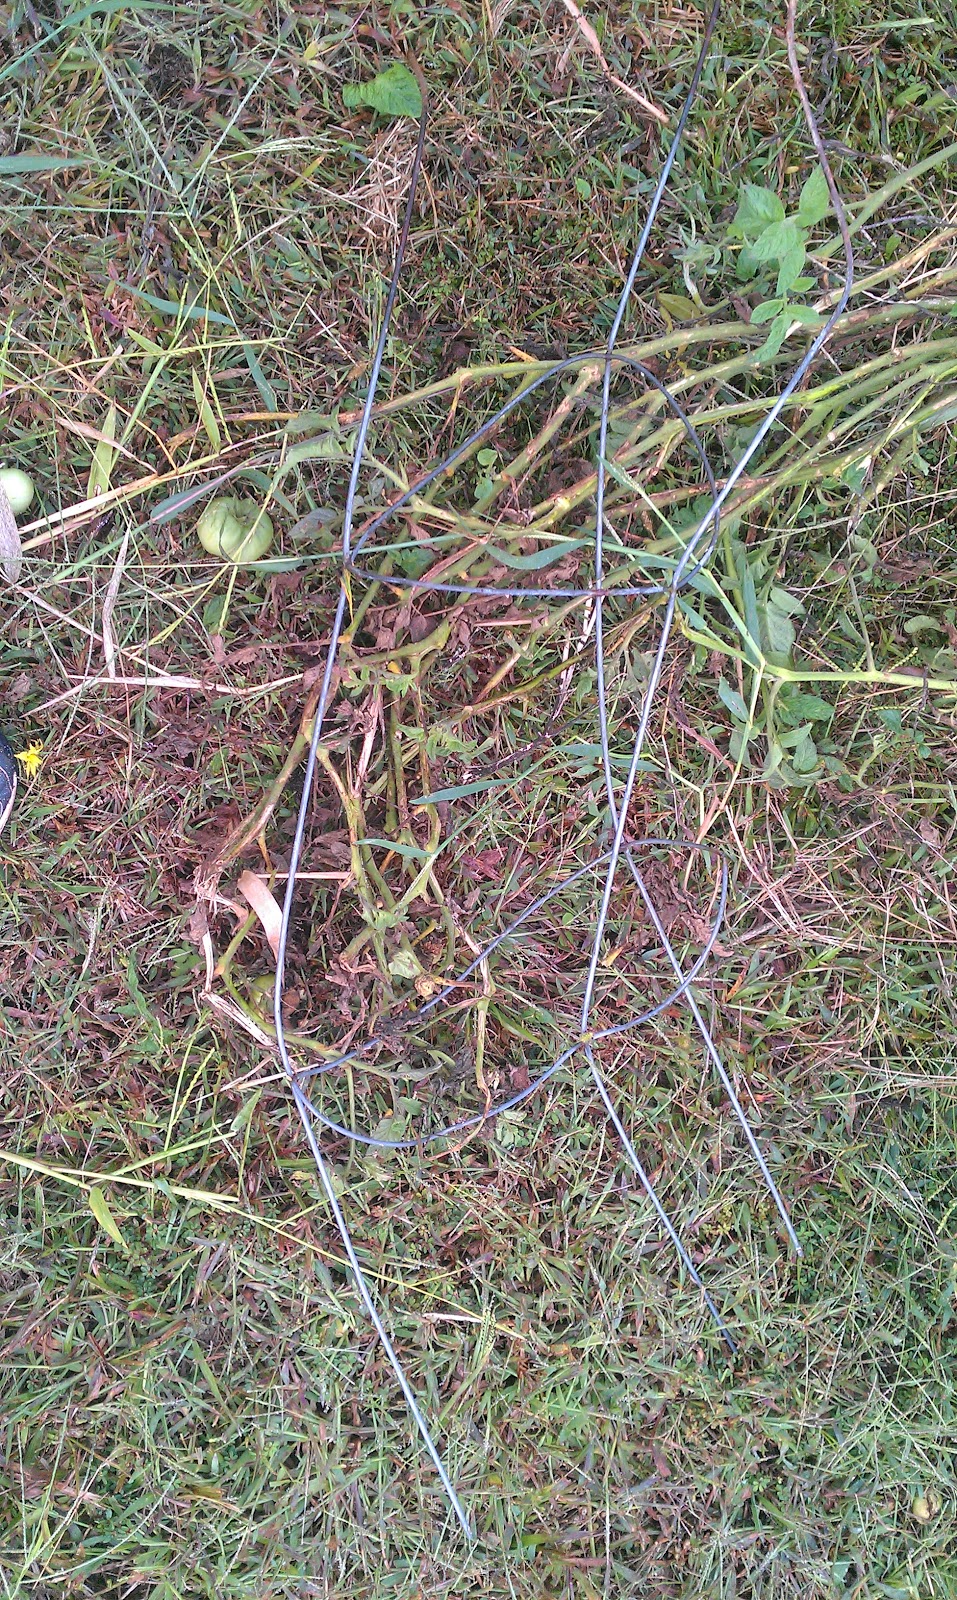
The Italian Tree Tomato is probably the old Trip-L-Crop variety.  It produces large tomatoes which can crack if not watered consistently.  The vine grows so heavy, it mangled tomato cages last year and has prompted a move to either hog panels, or bamboo poles for this season.

Speaking of tomatoes, most varieties are finally sprouting,  the Mountain Fresh, Bloody Butcher, Eva Purple Ball, Santiago, Good Old Fashioned Red, Ox Heart, Rutgers Original Strain, Gold Currant, and San Marzano are coming up well, with the Black Truffle (Triefele), Mexico, and Cherokee Purple varieties just now beginning to come up.

Peppers

The early peppers are also sprouting.  The Early Jalapeno peppers plants are plentiful.  The King Arthur Sweet Pepper and Melrose Peppers have been slower in coming up.  In fact, none of the late peppers have germinated.  Soon, I hope.

Practically Gurgling

The ground is so wet it's practically gurgling, so the in-ground plantings will need to wait until it's a little dryer, as well as warmer.  Although it warmed to 60 degrees today, we had a heavy frost last night and highs in the 40s are expected by the end of the week.

Late Winter or Early Spring?

Trees are budding--although not leafing out yet--and the meadowlark is singing.  I don't know exactly what season it is, but am looking forward to working outside!

What season is it in your Savory garden?


Nancy

Sunday, April 29, 2012

Frugal and Fruitful Seed Saving!

The most important lesson I continue to learn as my gardening skills improve it just how little I know.    That means I'm constantly reading, and asking questions, and experimenting.  Fortunately, for me, the Master Gardener group in my county is very active, so I have a trug-full of expertise within arm's reach.

Sunday, March 18, 2012

Seeds of Challenge

Mary Washington Asparagus under the lights.
One of the things I love about starting plants from seed is that there are so many surprises.  I don't know what I expected from the asparagus, but it's shocked me:  it's nearly two inches tall!  It's appearance is even more fun--it looks like tiny asparagus spears!

Saturday, March 10, 2012

Soggy, Sunny, Saturday!


Rainwater still standing after 24 hours!

They may be ugly, but they were cheap
and they keep my feet dry!

It's sunny and soggy today on the farm, which means I'll be pulling on my muck boots before going outside.  I have several "must do" tasks on my list for the day:

Tuesday, February 28, 2012

Well Begun is Half Done

After planting asparagus seeds a few weeks ago, I started my "early" and potted tomato varieties:  Hawaiian Currant, Gold Currant, Mortgage Lifter, and Black Truffle. 

I'll start my hot weather varieties (Creole and Florida Pink) in a few weeks.  I still have my eye on a few additional varieties, as well.


A worktable salvaged from my grandfather is my work space.  It was very old when my father used it as his workspace in his very messy, very creative garage.  It was a wonderful place for a mechanically inclined little girl!


Load starter pot inserts into trays.  The individual cells are filled with Miracle-Gro Moisture Control Potting Soil which I keep in a plastic storage box right next to the table.  I've had very good luck with Miracle-Gro through the years.


The box is just larger than the trays so they can be set into the box and soil is not wasted on the worktable.  Once the trays are filled, the pots are watered before a seed is dropped into each cell.

The trays are loaded onto the shelves where they will receive fluorescent and day light, and water until they are ready for transplant.

So, it's started.  The fun is just beginning!

Thursday, October 27, 2011

Being Frugal, For Peat's Sake

The occasional warm winter day inspires me to dig out the potting soil and do my early indoor seed starting.  In the past I've used styrofoam cups and peat pellets but this year, in the interest of sustainability and cost, I've decided to start my seeds in toilet paper rolls and newspaper pots.  When researching how to make the pots, I found several folks willing to sell me a handy little device to help.  Unfortunately, the handy little device carried a handy not-so-little price (in its defense, the wood was beautifully turned and finished).  So, I rummaged around my place and put together my own newspaper pot maker.


I put together a quart jar lid, a small mushroom can (both ends cut out), and an empty worcestershire (or any that fits inside the can) bottle.  To make your pots, tear your newspaper at the center fold to make a single page.  Fold that single page lengthwise and use your bottle to crease the paper.  Roll the paper firmly (but not tightly) around the can, leaving just over half the diameter of the can to fold in for the bottom.

Starting where the newspaper ends, fold the bottom into the can (four folds).  Fit the jar lid over the bottom of the can and set on the table.  Use the bottle to tamp the bottom of the pot flat, twisting to crimp well.  Carefully sllide the can out of the pot, then remove the jar lid.

I store these in a shoebox lined with a plastic bag.  I'll let you know how these work out!

PS  April:  Fill these to the top with soil and keep moist lest the paper wick away moisture quickly.